DreamDiner is a flexible system that offers a wide range of customization options. After completing the initial setup wizard, your business will be operational, allowing you to place a test order. However, this does not mean that the system is LIVE or ready for customer orders. Before making it available to your customers, you should verify that all necessary steps and configurations align with your business requirements.
To assist you, we have prepared a brief checklist of features to keep in mind. Even if you don’t need these features right now, it's good to know they exist and may be useful in the future.
Step 1
Business Settings
Business tagline, location, minimum for take-away orders, and additional details.
Go to > Admin dashboard > Your Business > Overview > Settings
Step 2
Tables
Set your preferences regarding how you would like to set your tables (if any) and the table coding system.
Go to > Admin dashboard > Your Business > Overview > Tables
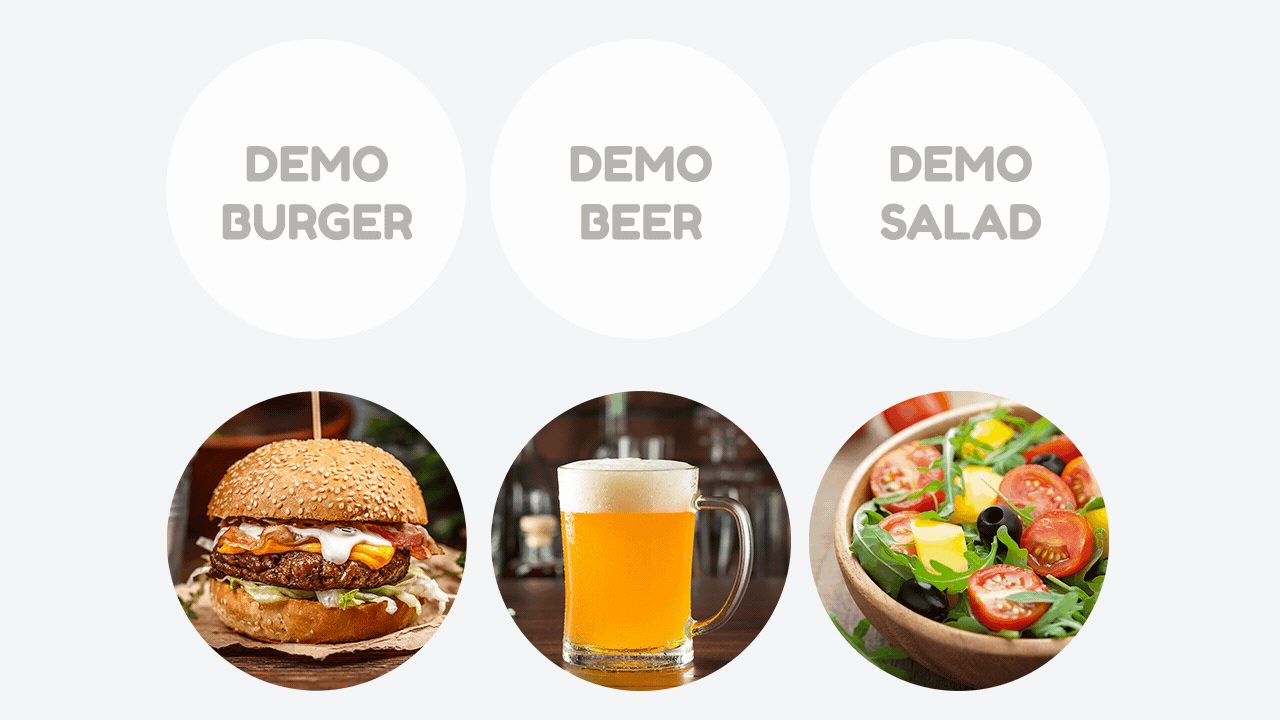
Replace any demo images with your own beautiful, high-quality images.
Go to > Admin dashboard > Your Business > Overview > Items
Step 4
Options
Add as many options and group options as needed, and assign them to your item menus.
Complete this task in two phases: first, add your options; then, assign them accordingly to your items.
Add options:
Go to > Admin dashboard > Your Business > Overview > Options
Assign to items:
Go to > Admin dashboard > Your Business > Overview > Items
Upon creating your business, you are rewarded with 500 FREE credits! Learn more about subscription benefits and enroll in Get Paid to enable client self-payments, as well as take-away and delivery orders.
Go to > Admin dashboard > Your Business > Upgrade Plans