Show time!
DreamDiner Workflow Showcase Experience
Familiarize yourself with the capabilities and main features of the DreamDiners platform through an easy step-by-step walkthrough.
Side-by-side experience!
To make your experience fruitful and enjoyable...
To fully experience the system, we will practice and experiment in a way that highlights the mutual effects of the two main interfaces: the Client App and the Admin/Staff App.
Left Side
On the left side you will experience the Client App: use any mobile device.
Right Side
On the right side you will experience the Admin / Staff App: prefer to use a desktop monitor or a tablet.
Place an order
Place your first order in the Client App and see how it appears in the Staff App

Each business gets a unique QR code after being created on the DreamDiner platform. Scan it to get started!
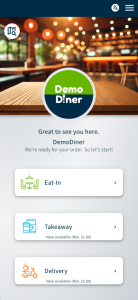
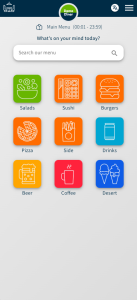
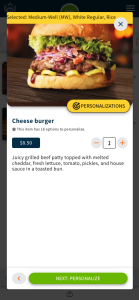
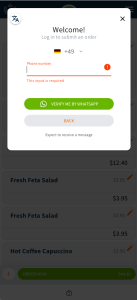
To place an order, select your desired items, log in, choose a table, confirm the summary page, and finally submit your order.
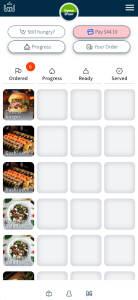
End up in the tracker page, where you can see all your ordered items and their current preparation status. Keep this page opened on your mobile!
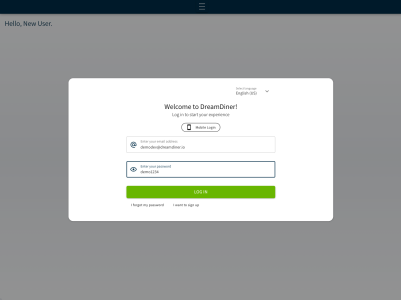
Time to log into the admin dashboard with a tablet/iPad or on a desktop.
Visit: https://dev.admin.dreamdiner.io and login with:
Username: demodev@dreamdiner.io
Password: demo1234
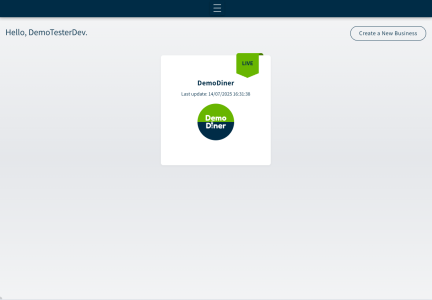
Choose “DemoDiner.” DreamDiner supports multiple businesses for each admin, which is useful for chain restaurants and similar scenarios.
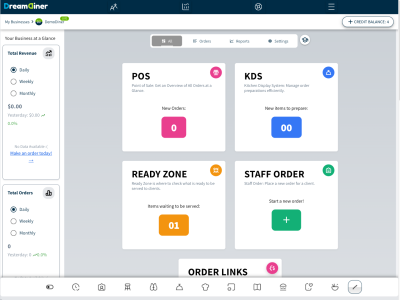
Tap on the POS card to explore your orders
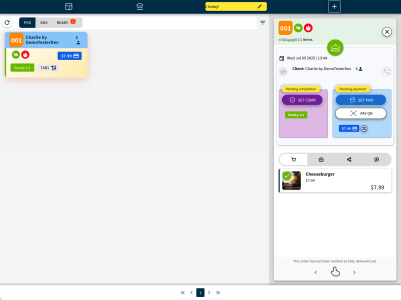
Voila! Here is your order you just made. Tap on the card to see a detailed view of this order
Item Preparation
The item preparation process consists of three steps managed by the kitchen. The initial status is “Ordered.” The next status is “Ready,” and the final status is “Served,” which indicates the client has received their requested item. Each status change updates the item’s status in the client app in real-time.
Option 1
Using the POS
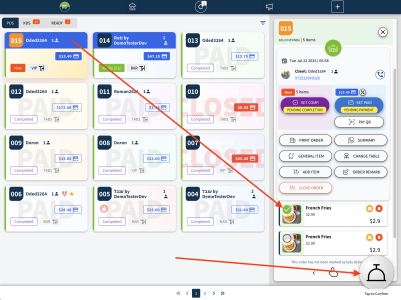
To facilitate item preparation in the kitchen, follow these steps: Tap the order card and then select an item from the detailed card on the right. Finally, tap the bell to confirm that it is “Completed.”
Note that the POS is not primarily for preparing items, but rather as a quick shortcut to transition items from the initial “Ordered” state to the final “Served” (Completed) state.
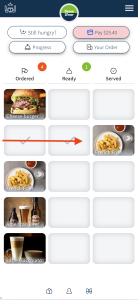
Observe the item’s movement in real time on the client tracker page.
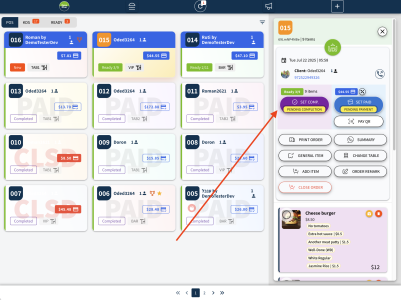
To move all items in the order to a completed state, click the purple button.
This action can be reversed; clicking it again restores all items to their original order.
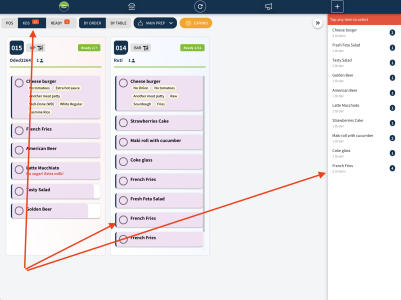
Option 2
Using the KDS
The KDS (Kitchen Display System) is the chef’s primary display port. From here, you can promote an item either from the item card or from the multi-select drawer on the right.
The KDS moves the item one step forward, placing it in the "Ready" state only.
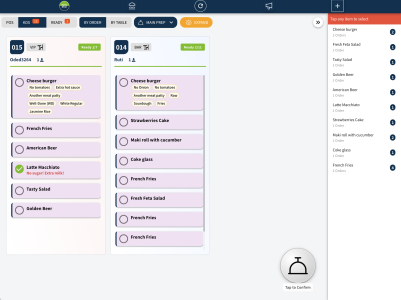
Tap the bell when ready to confirm any action!
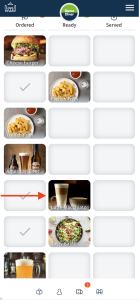
Item moved to the “Ready” state.